by Oliver
19. January 2011 17:45
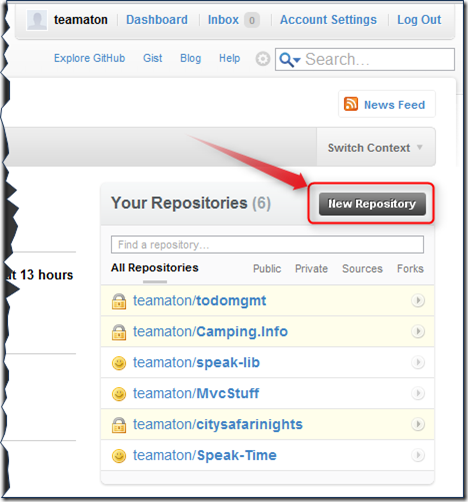
Login to your account at GitHub and click the “New Repository” button:
Go ahead and enter a name for the new project, I suggest all lowercase letters and hyphens if needed (for easier typing, mostly). Then choose whether you want this repository to be publicly visible by the whole world or just by the people you specify:

You then get to an overview page with instructions how to set up your local repository clone – the most important part is the git url that looks like git@github.com:teamaton/todomgmt.git. Instead of setting the repo up on the command line we use the wonderful Git Extensions. Just follow these easy steps:
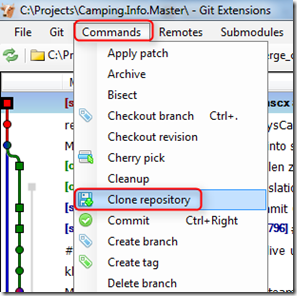
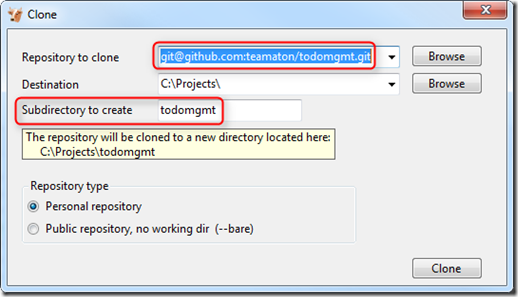
After clicking on “Clone” you’ll get one of the two following windows:
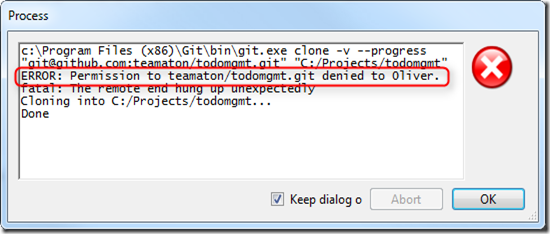

If you see the error window you’ll need to add yourself to the list of collaborators in the project on GitHub. Once you’ve done that, you should see the second window after trying “Clone” again.
- Note: the whole issue of setting up users (collaborators) and their SSH keys is beyond the scope of this post.
Once you’re done with these steps you should see the new project folder on disk. It contains a hidden directory “.git” with information about the repository. You can now go ahead and create your project files, e.g. a new Visual Studio Solution:
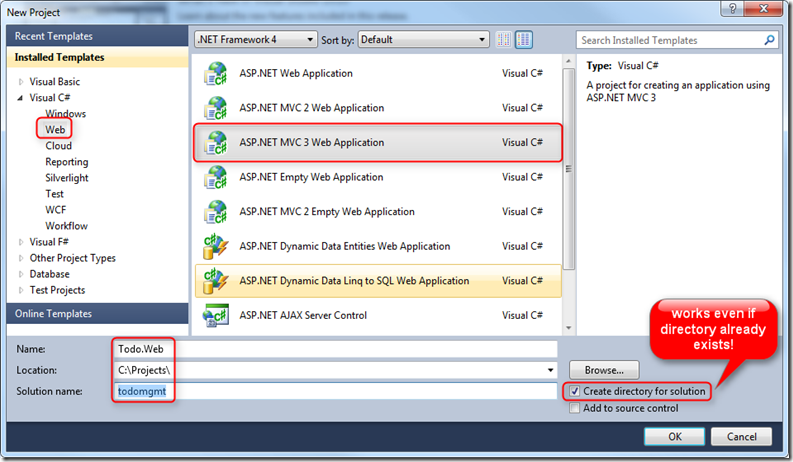
That’s it – you’re ready to code!
Happy Coding :-D
Oliver