by Oliver
17. April 2019 09:00
This step-by-step guide is based on TeamCity Professional 2018.2.4 (build 61678).
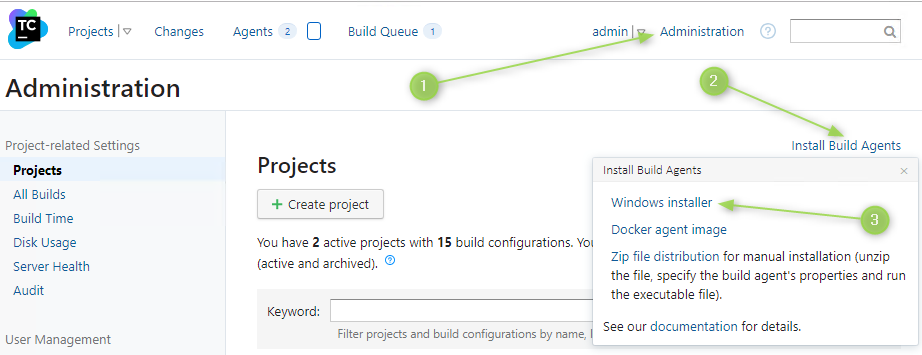
1. On your TeamCity server, open the web UI and click:
- Administration
- Install Build Agents
- Windows Installer
2. Run the installer

3. Choose a folder on the disk to extract to
I chose C:\BuildAgent3.
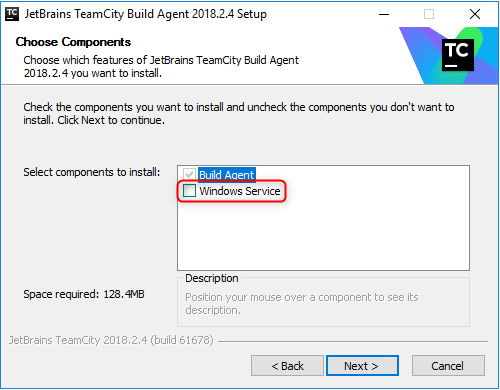
4. Do NOT check the Windows Service checkbox
I know this sounds counter intuitive - but it will save you from losing your default Build Agent that is already running.
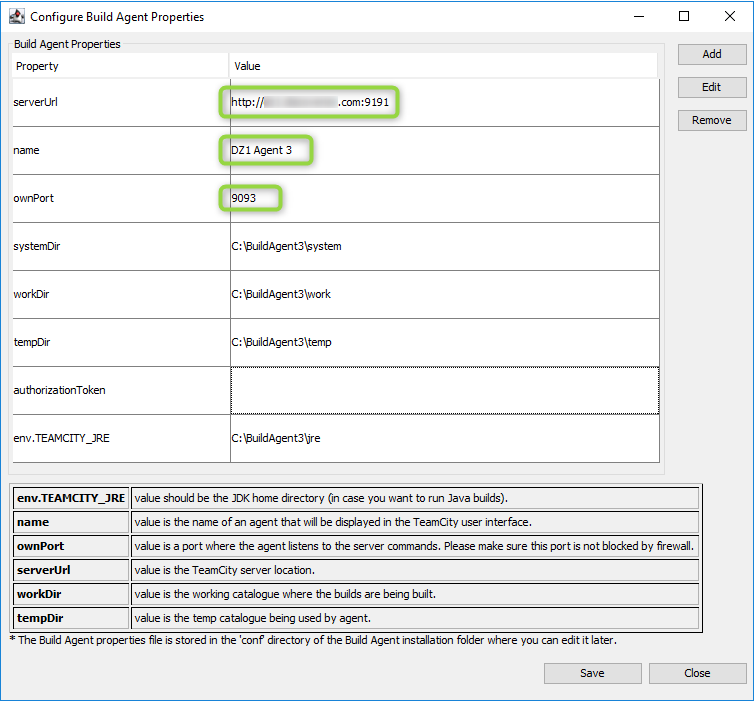
5. Set your Build Agent's properties
- Set the serverUrl to the publicly accessible URL of your TeamCity instance.
- Give a distinctive name to your new Build Agent - I like to just number them.
- Optional: change the ownPort to something predictable. This value is used only internally.
6. Finish the installation process
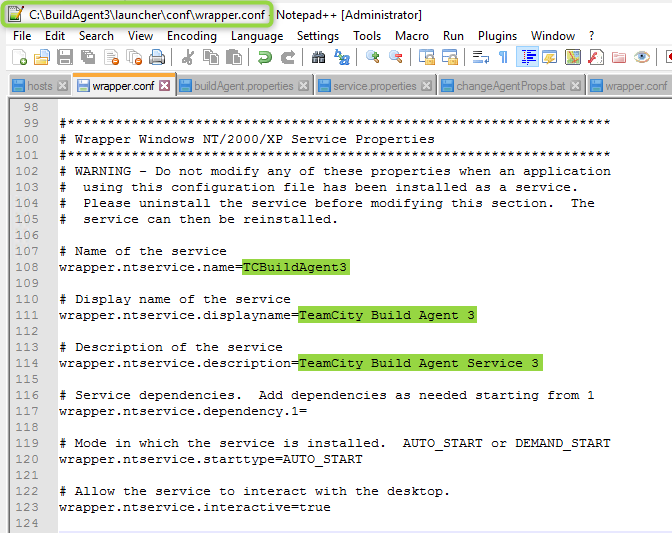
7. Open .\launcher\conf\wrapper.conf, scroll to bottom
In my case, this is C:\BuildAgent3\launcher\conf\wrapper.conf.
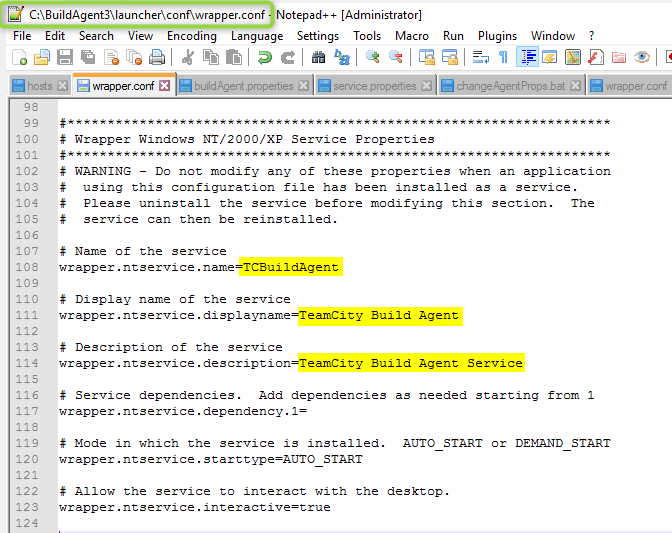
8. Change the highlighted values to something unique
You need to change the following three values:
- windows.ntservice.name
- windows.ntservice.displayname
- windows.ntservice.description
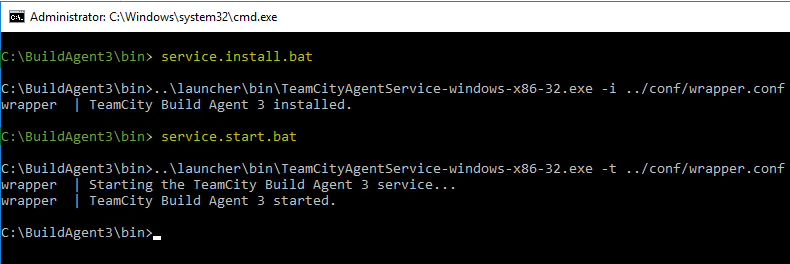
9. Install the Windows Service for your Build Agent
Open a console and navigate to the \bin directory of your Build Agent's installation folder.
Then run service.install.bat and afterwards service.start.bat:
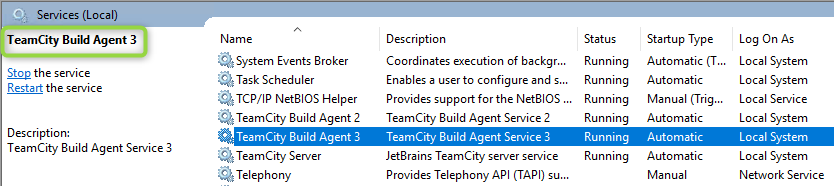
10. Verify that your new Build Agent is running
Open services.msc and scroll down to TeamCity:
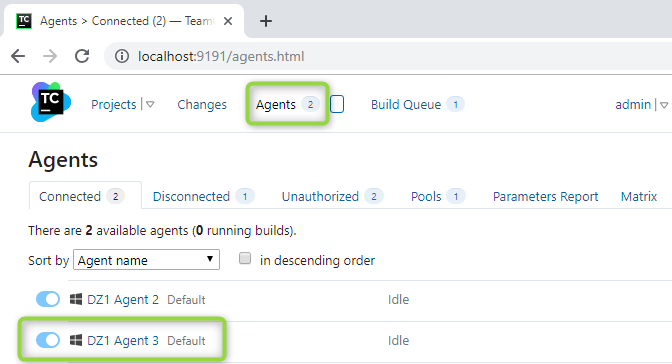
11. Check TeamCity for the new Build Agent
It takes a few minutes before the TeamCity service and the Build Agent properly connect - but they do it automatically and the result looks like this:
12. Build stuff!
Thanks for visiting - happy coding!